

Tiered Tray Thursday
- Lori Saenz
- Feb 21, 2018
- 2 min read
Welcome back everyone. Sorry my little hiatus for my son's wedding turned into an almost 4 month break from the blog world. I actually started 2 different posts, and for whatever reasons just never finished posting them. But no more excuses, I'm back.
I thought I would tie this week's blog in with what I have been posting on Facebook and Instagram lately ...and that is my "Tiered Tray Thursday". You can start with items you already have around the house, like old round cake & pie tins. Add in some wooden bowls and a salt shaker or two, and you have all the fixins' for a tiered tray. Glassware also makes for pretty tiered stands.

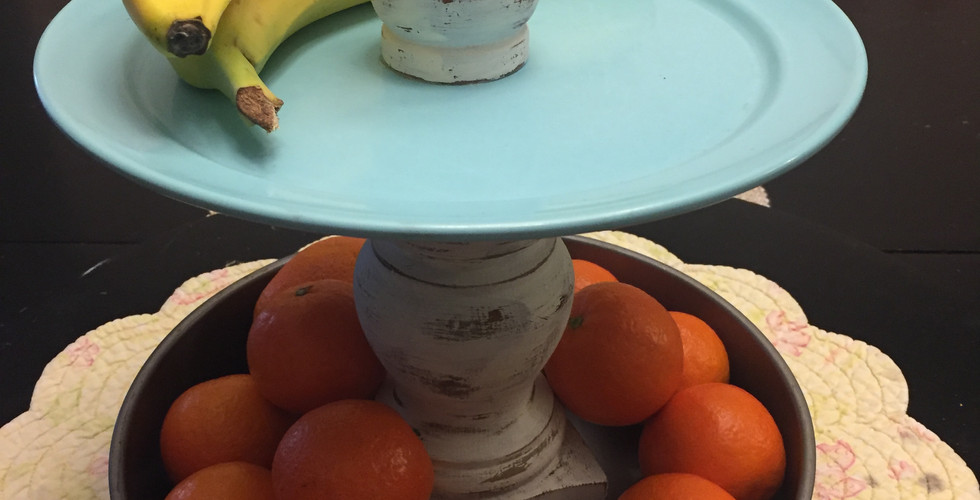
My favorite is a mixture of tin and wood similar to this stand, however I am going to show you how simple a wood & glass one is to make.

I purchased these sweet little Easter plates using a combination of several different discounts at Michaels. I already had a round wood base that I painted 'mint' and distressed. Then I headed to Goodwill and chose 2 different clear glass pieces that would work for my pedestals. From here, it's as simple as A-B-C.
A - stands for Arrange. Play around with your plate arrangement as well as your pedestal pieces. No right or wrong here.
B - stands for Bond. My top choice for adhesive is E6000. Works amazing on all types of surfaces.
C - stands for Check, Center, and Check again as you start glueing all your pieces together. Let your stand 'cure' for at least 24 hours before using.

Add some fruit, Easter candy, or even use it for your jewelry, and you have a sweet little Tiered Tray for any occasion. Check out the following slide show for several different styles and versions of my previous Tiered Trays ..................


Thanks for sticking around til the end. Restarting this blog was alomost as hard as restarting that diet/exercise program that we all have broken a time or two! So I wanted to just keep it simple & sweet! Check in with me next time to see all the fabulous things you can do with old shutters. Here's a sneak peak of one thing I made before the holidays....

And if you haven't yet subscribed to this blog, and you can't bare the thought of missing this next post, don't forget to scroll to the bottom of the page and add your email to receive a reminder email when the next post comes out.
Happy Craftin, Lori


Comments